Creating My Final Cinematic
- Mikey Owen
- Feb 23, 2023
- 7 min read

Updated: Mar 2, 2023
Now that I'd finished exploring the workflows of my software options, it was time to build the final effects, implement them into my scene and create my final cinematic!
As I mentioned in the previous post, I'd opted to use the inbuilt Unreal Engine suite to create my final effects. So I set about using the workflows I've detailed previously to create my fire and mist effects.
Additionally, you may recall in the previous post that I mentioned the difficulties I'd had when creating my water and spark effects. But following this, I actually discovered an asset back that contained some incredible spark and water effects that suited my needs perfectly! I therefore set about recreating the effects included in the pack so that I could understand their workflow for the sake of my presentation for this assignment. They were near enough identical to those I applied to my fire effects; a series of particle systems within Niagara to designate sparks, light flares & electric distortion for the spark effects, and droplets & splashes for the water.
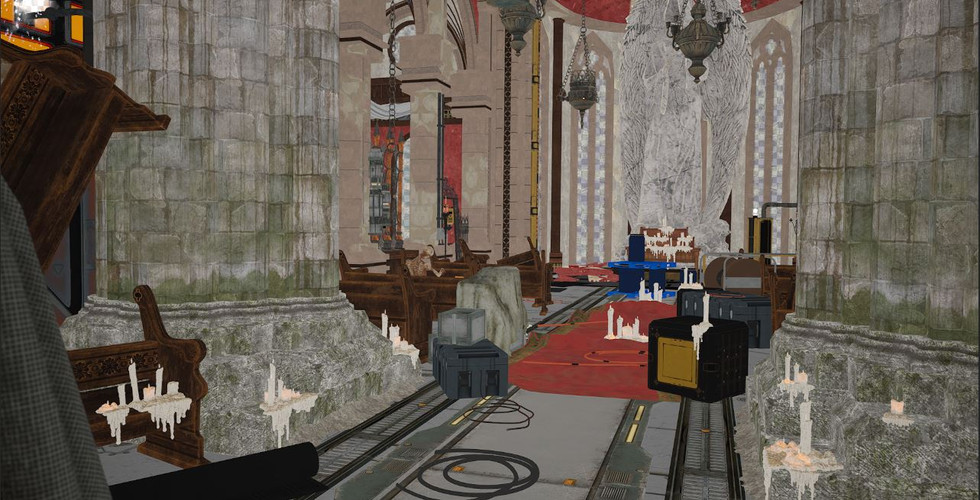
So now I had all my effects completed, I added them to the designated spots in my scene, and set to work on the renders.
Rendering the Final Sequence
When completing the final renders, I'd thankfully had the foresight to position the cameras correctly following the construction of the final environment, so no changes were needed here. However, I wanted to add some cinematic flair to certain shots, such as depth of field on the wide establishing intro shot.
For whatever reason, I was absolutely unable to get this to work. I've spent several days now attempting to fix the issue, but it simply wouldn't apply the effect in the way I wanted. I just wanted to note this here in the post to say that I had every intention of including it, but ran into too many issues to do so. I decided to move onto the next phase so I wouldn't risk running out of time when I needed to focus on my final cinematic.
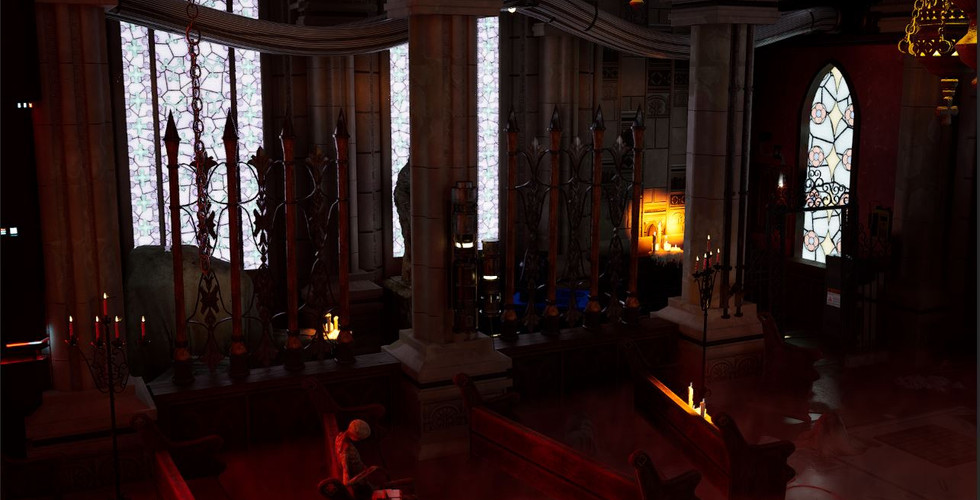
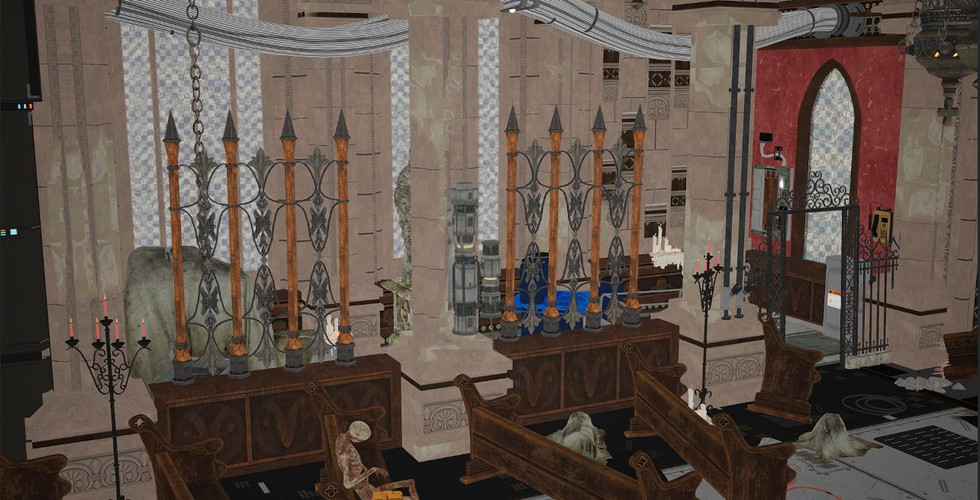
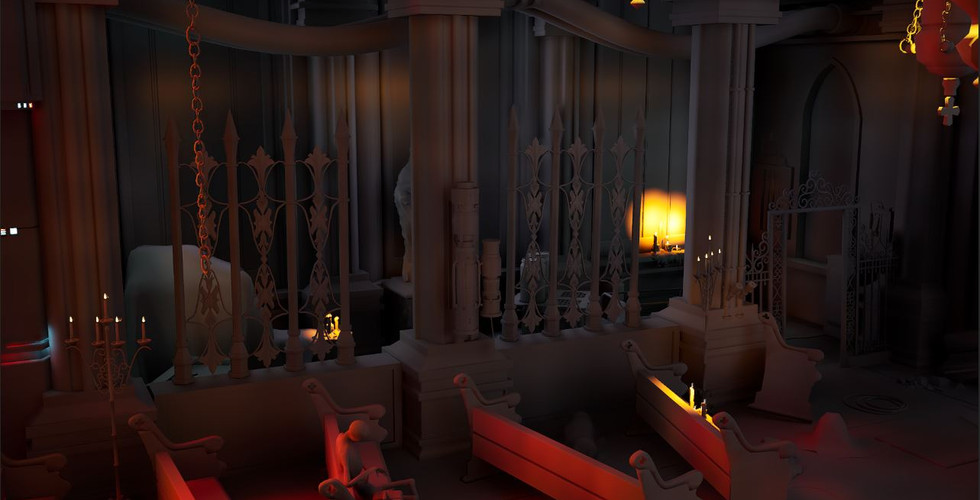
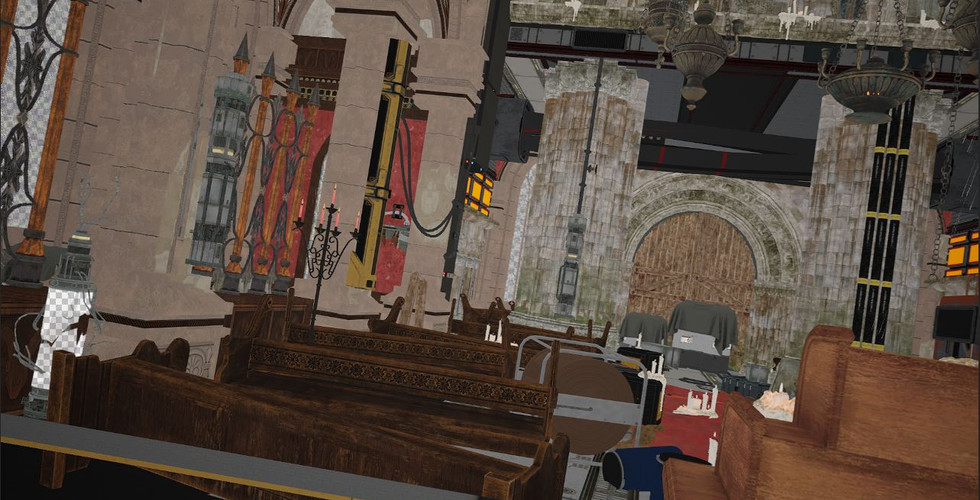
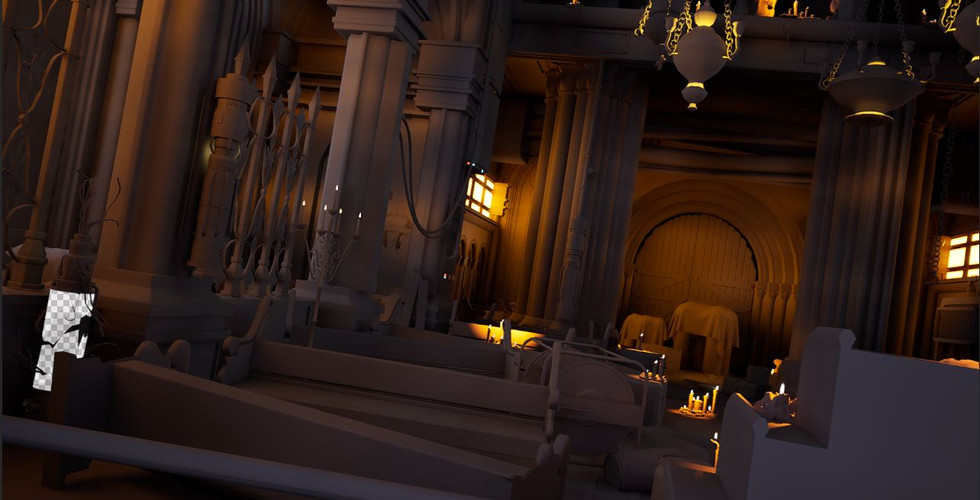
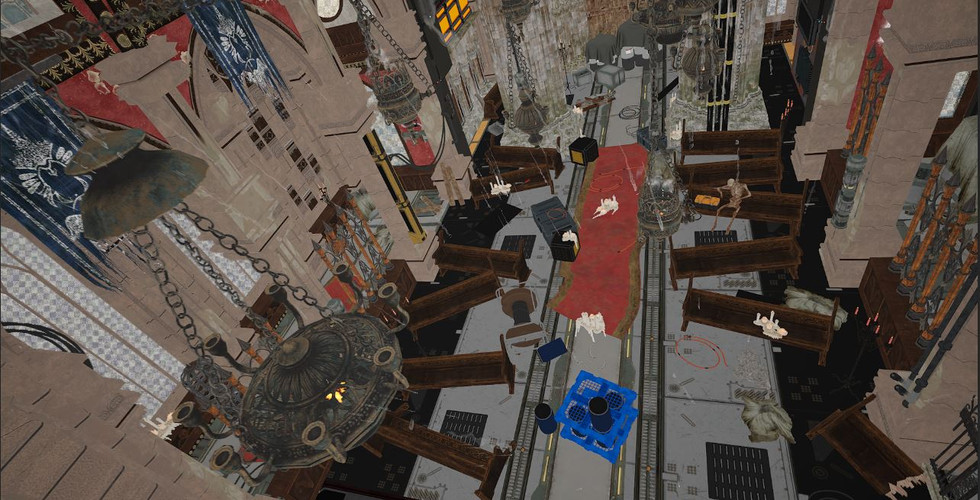
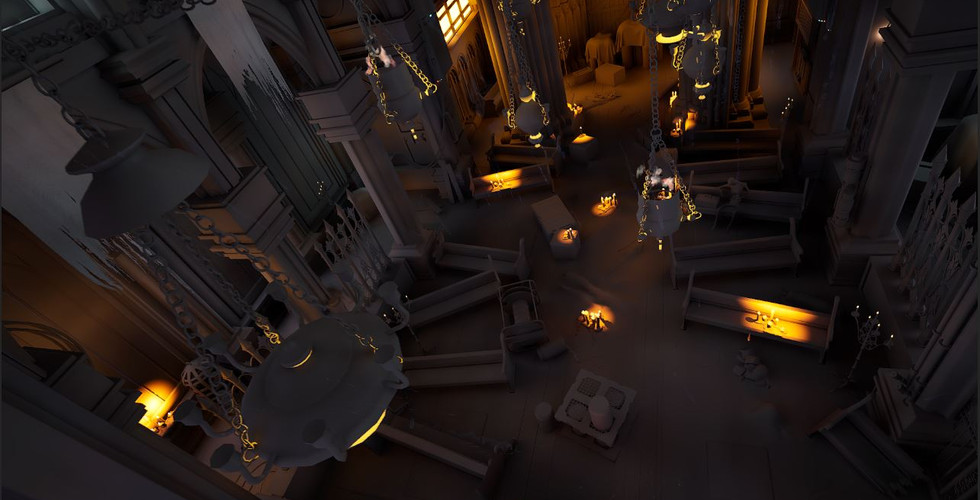
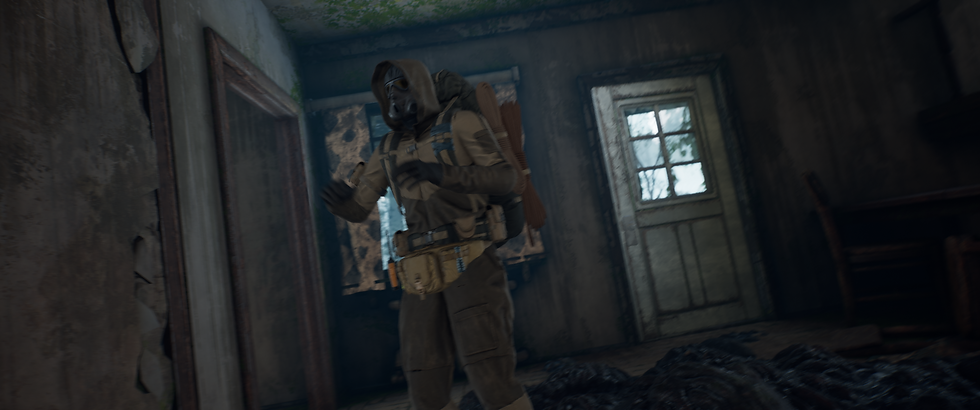
For the final renders; I opted to render these out in an exr format. This is because these images are 32 bit. compared to the standard 8 bit rate of png files. This results in less compression and more colour range within the final sequence. I also disabled the anti aliasing of the final renders, and input the required to sub sample each frame 64 times. This means every frame would be rendered 64 times and blended together to achieve the highest quality! I've included 4 slideshows below of my four shots and all their accompanying render elements (though please note, Wix cannot display exr images, so these are simply screenshots of the renders so some quality has been lost):
Shot 01 -


Shot 02 -


Shot 03 -


Shot 04 -


As well as just the standard camera output sequence, I also included render elements within the final passes. These included passes for: detailed lighting, lighting only, reflections & unlit. It's my hope that I can use these additional sequences with various blend modes within After Effects to enhance my final scene (more on this below).
Post-Production Phase
Now that I had my final image sequence, it was time to enhance it within my chosen composition software: Adobe After Effects.
I imported the final image sequence (as well as the 4 additional render pass sequences), changed it's frame rate to match that of my sequence (60 frames per second in this case) and set to work.
Unfortunately I found that half of the passes sequences actually harmed my cinematic rather than enhanced it. The Detailed Lighting and Unlit passes actually removed the majority of the textures on the assets or muddied the shadows, regardless of the blend mode used. However, the Lighting Only & Unlit passes did the job! Applying an overlay blend mode to the Lighting Only pass enhanced my shadows, as well as adding some more clarity to the 'outlines' of obscured assets within my mist. The Unlit pass had an overlay blending mode applied to it also, as this enhanced the texture work on the assets, bringing out detail in areas that were previously over-exposed or shrouded in darkness. It also appeared to sharpen my image somewhat, adding more clarity to the scene!
After this, it was time to fine tune the sequence. I began with an exposure adjustment effect which does exactly what it sounds like. I unfortunately appear to have an issue with my monitors, where cinematic scenes I've created in the past look fine to me, but when viewed on literally any other device they are far too dark. To combat this, I made applied a flat exposure increase to my sequence. Hopefully this will avoid these issues.
Next, I began the colour correction process. To do this I originally added a colour correction effect, and turned down the reds and yellow levels of my sequence using a curve editor, as these appeared to be far too strong due to the quantity of flame effects present. Unfortunately, this resulted in issues during the final renders. This is because the colour correction effect works on up to 16 bit sequences, but you may recall my exr sequence was 32 bit. So oddly, in an effort to improve the quality, I actually prevented myself from being able to use the most common post-production effect in the industry. Typical.
Thankfully though, there was a 32 bit effect called "color balance" which I was able to use. The options for which were nowhere near as detailed as the original colour correction effect, but I was at least able to reduce the overall saturation of the scene. My reasoning for doing this was that I felt my scene was a bit too vibrant for the aesthetic I wanted to create. Thankfully this adjustment worked perfectly!
Next, I actually located a 32 bit effect for the Hue & Saturation which solved my previous problem! This allowed the adjustment of individual colour channels (albeit with a slider this time as opposed to a curve editor), so I set to work balancing the yellow and red tones of my sequence.
I was nearly there, but had one more effect I wanted to add. There's a shot within the cinematic where the camera passes through the mini rain waterfall, and I really wanted some water droplets to form on the lens as it did so. I therefore sourced some 'green screen' footage online of this exact effect, downloaded it and imported it into my sequence. I then positioned it where I needed it within the timeline, trimmed the clip down and applied the keylight 1.2 effect. This allowed me to eye drop the colour of the screen and remove it from the effect footage! I lastly trimmed the clip down, keyframed it's opacity so it faded in and out, then did the same with the first and last shot of my cinematic to make it flow better. I've included a screenshot below of my sequence with the effects tab open for your reference:

I was really happy with how the final sequence was looking (though admittedly still a little bitter that I'd not been able to get depth of field working), so decided to move onto the next stage: audio production.
There's no reason why I couldn't have completed this stage within After Effects too, but I have far more experience creating audio tracks in another editing software: Sony Vegas. So took my final sequence into Premiere Pro, rendered it out, then brought the render into Sony Vegas so I could begin creating the audio.
Audio Production
The audio production process was fairly straight forward, as like I said above, I have experience doing this kind of thing within Sony Vegas.
I first began by sourcing audio clips online for the key sound effects I'd need: rainfall, fire crackling, electrical explosions etc and of course, backing music. Once I'd located all the sound effects, and a wonderful ambient choir track, I imported them all into my Vegas project.
Next, I added the backing music, gave it a simple fade in/out to have it nicely transition into/out of the cinematic, and trimmed all the audio clips to isolate the sound effects I needed. I then went through my footage frame by frame, searching for where my visual effects 'started' within the clips, and added the sound bytes into my audio channel to match up with it.
From here, it was simply a case of fine tuning the audio. Adjusting the gain of the effects so that the ones closest to the camera were predominantly louder, and ensuring things like the rainfall and crackling flames could be heard at varying volumes throughout the sequence. I've included a screenshot of my audio production within Sony Vegas below for your reference:

With the audio complete, I rendered it out as a separate mp3 file which I could then bring back into my premiere pro project to complete the cinematic!
The Final Cinematic
With my post-production complete & the audio ready to go, it was time to hit render and create my final cinematic!
For the settings I chose the default highest quality render, at 1080p resolution, 60 frames per second and matching the source values. I then increased the bit rate and sampling to it's maximum to ensure the highest quality end product, and hit the export button. A few hours later, I had my final cinematic, which I've included below:
My Final Cinematic
That brings me to the end of this assignment! It's certainly had it's frustrating moments, but I'm really proud of what I've been able to achieve. Learning the workflows of these visual effects options and exploring what's possible within them has really allowed me to grow as a CGI artist. I've not really attempted creation of my own visual effects before, at least certainly not to this degree, and that's given me a new found appreciation both for the workflow pipeline and how they can enhance any scene in a variety of ways.
Things don't always work (looking at you Embergen VDB workflow), and there's always ways to improve (as with any avenue of this industry), but I can't wait to apply what I've learned here to future projects!


Comments